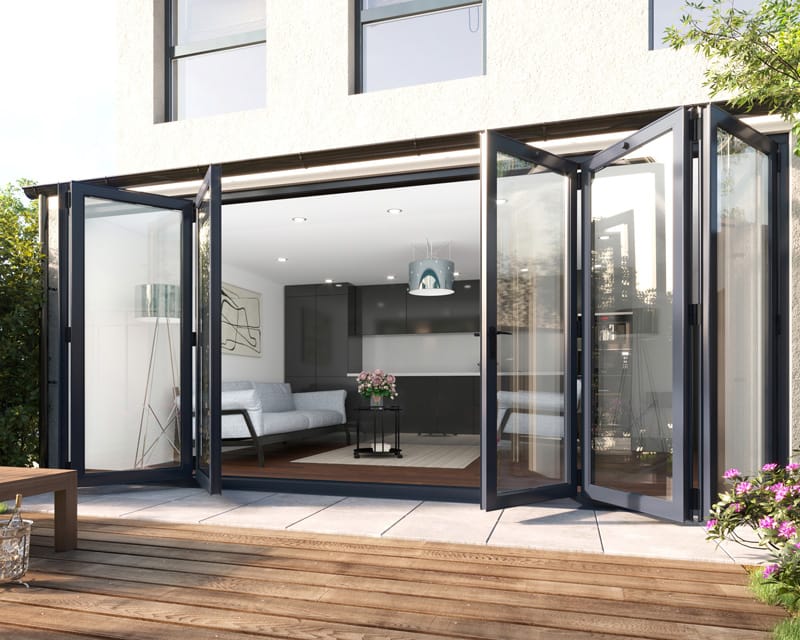
Bifold doors appeared in the late 20th century as a “luxury” item. Having doors that open in a concertina-fashion, took up minimal wall and ground space, and looked fabulous was something revolutionary. Although bifold doors are more common today, they still have the same wow-factor that they did back then.
Bifold doors were predominantly created to bring the outdoors in. They were an external set of doors that allowed natural light to flow throughout your home whilst being equipped with the correct glazing that would ensure your home stayed warm.
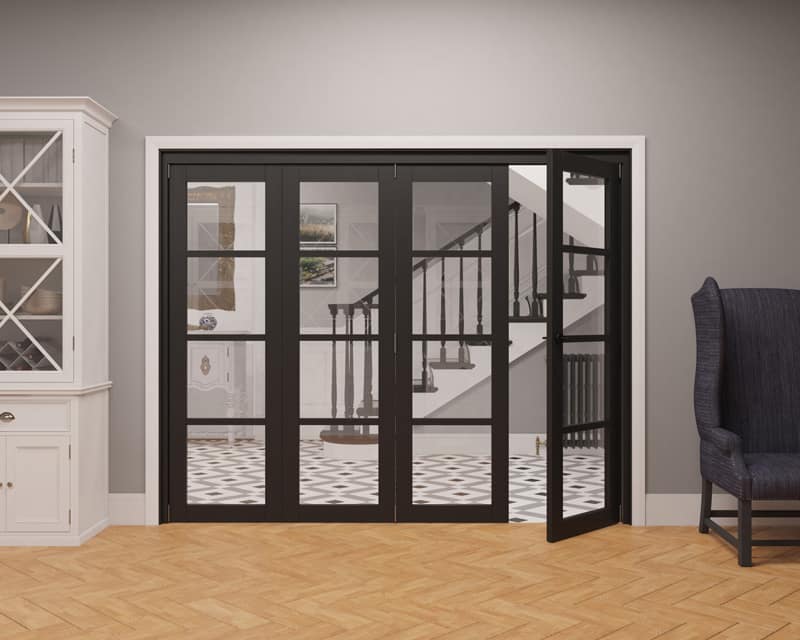
Today, bifold doors are slowly creeping indoors and are becoming a great way to make use of your internal space.
As we’re getting more DIY-savvy, a lot of people are beginning to install their internal bifold doors themselves. But how do you do that? If you’re a competent DIY-er and want to save a bit of extra cash, installing bifold doors yourself is the way to go; and we’re here to help.
How Do You Install Internal Bifold Doors?
Firstly, let’s figure out what you’ll need:
- Pencil/pen and measuring tape
- Drill
- Screws
- Saw
- Doors
- Door track
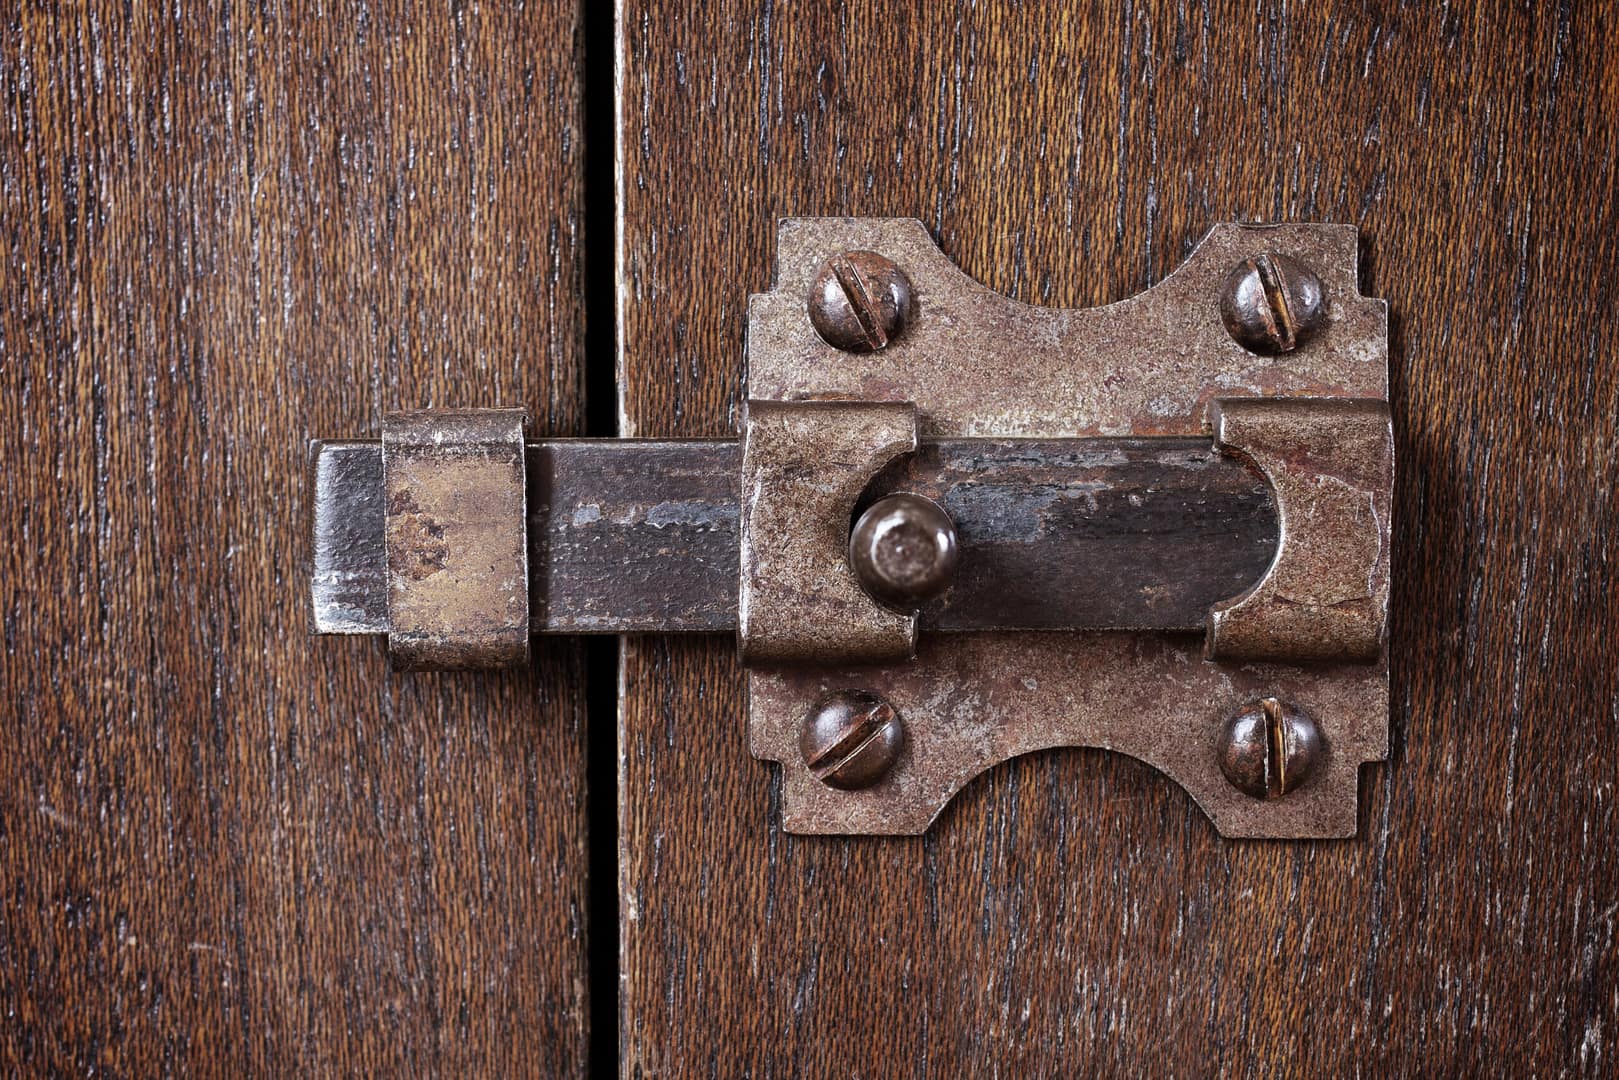
- Door hinges
- Pivots
Please note, this guide is a brief explanation of installing a bifold door. We have written this as if the door frame is already installed and you are simply installing the internal bifold door itself.
The key part of installing a bifold door is the measurements. The measurements that you take are crucial to error-free installation and are the difference between the door operating smoothly and not at all.
- Make a note on your doors as to which side will be facing outwards and the order in which you’ll install them; this is a very beneficial step, and one that is often overlooked as “too simple” to plan into your installation.
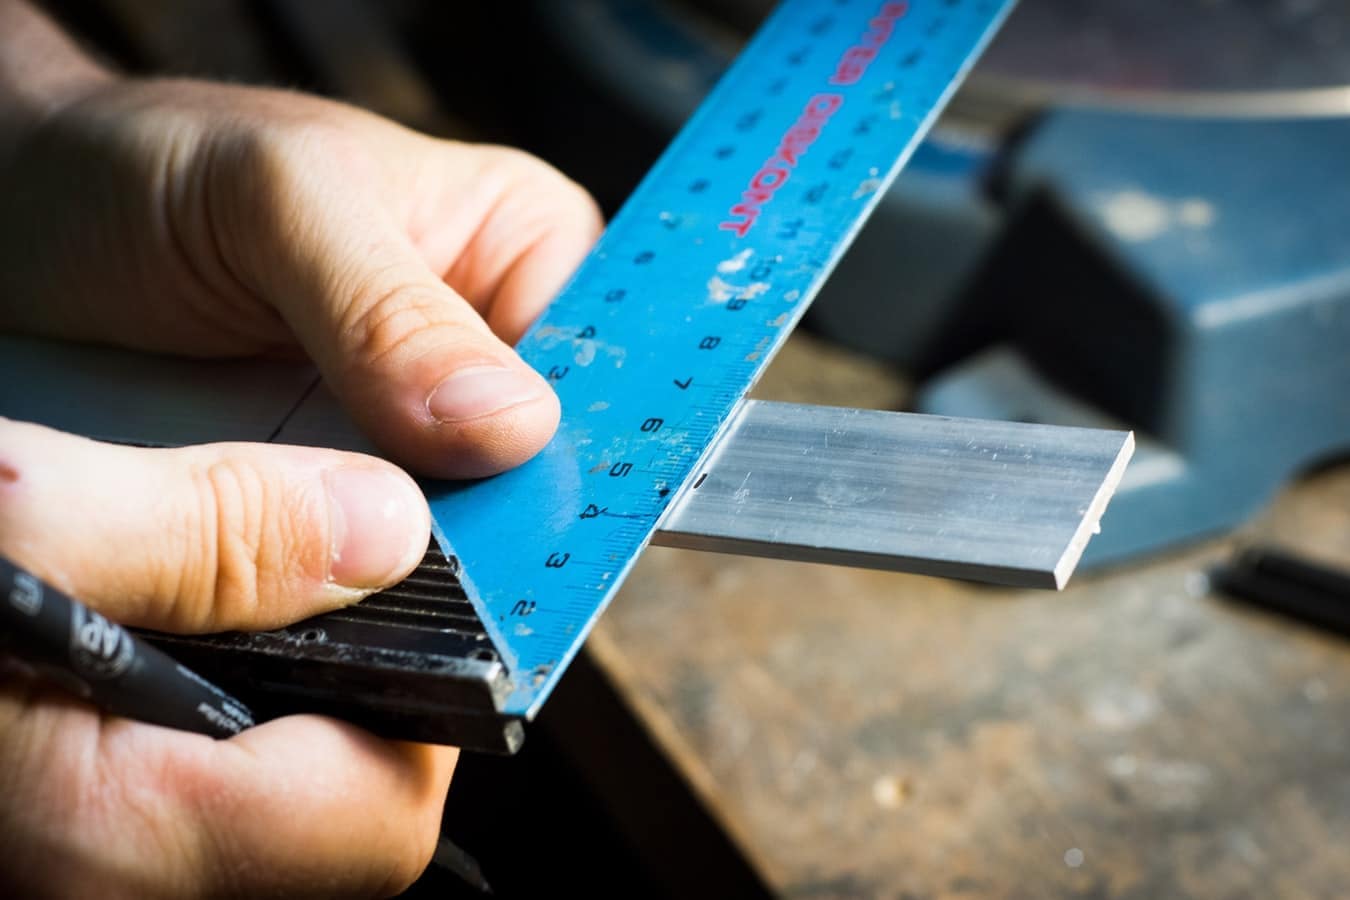
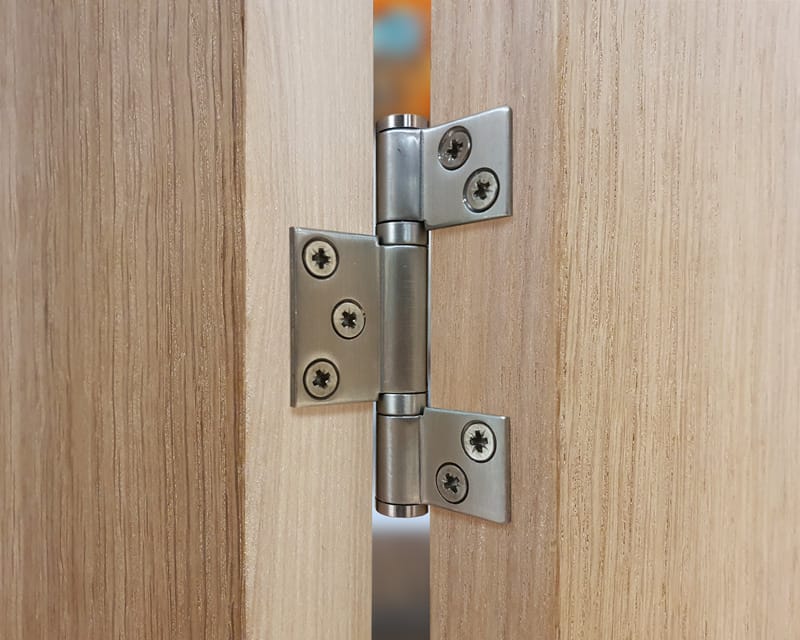
- On the edge of the first outward-facing door, where the door will be connected to the frame, you will need to mark out 11-inches from the bottom of the door, 7-inches from the top of the door, and a mark directly between the two.
- Align and secure the doors hinges to these 3 marks. Ensure that you’ve lined up the hinges with the marks exactly.
- Grab the next inward-facing door and line it up to the first door. Using the set square, screw the hinges together. You will need to keep repeating these steps until you have done so for every set of doors.
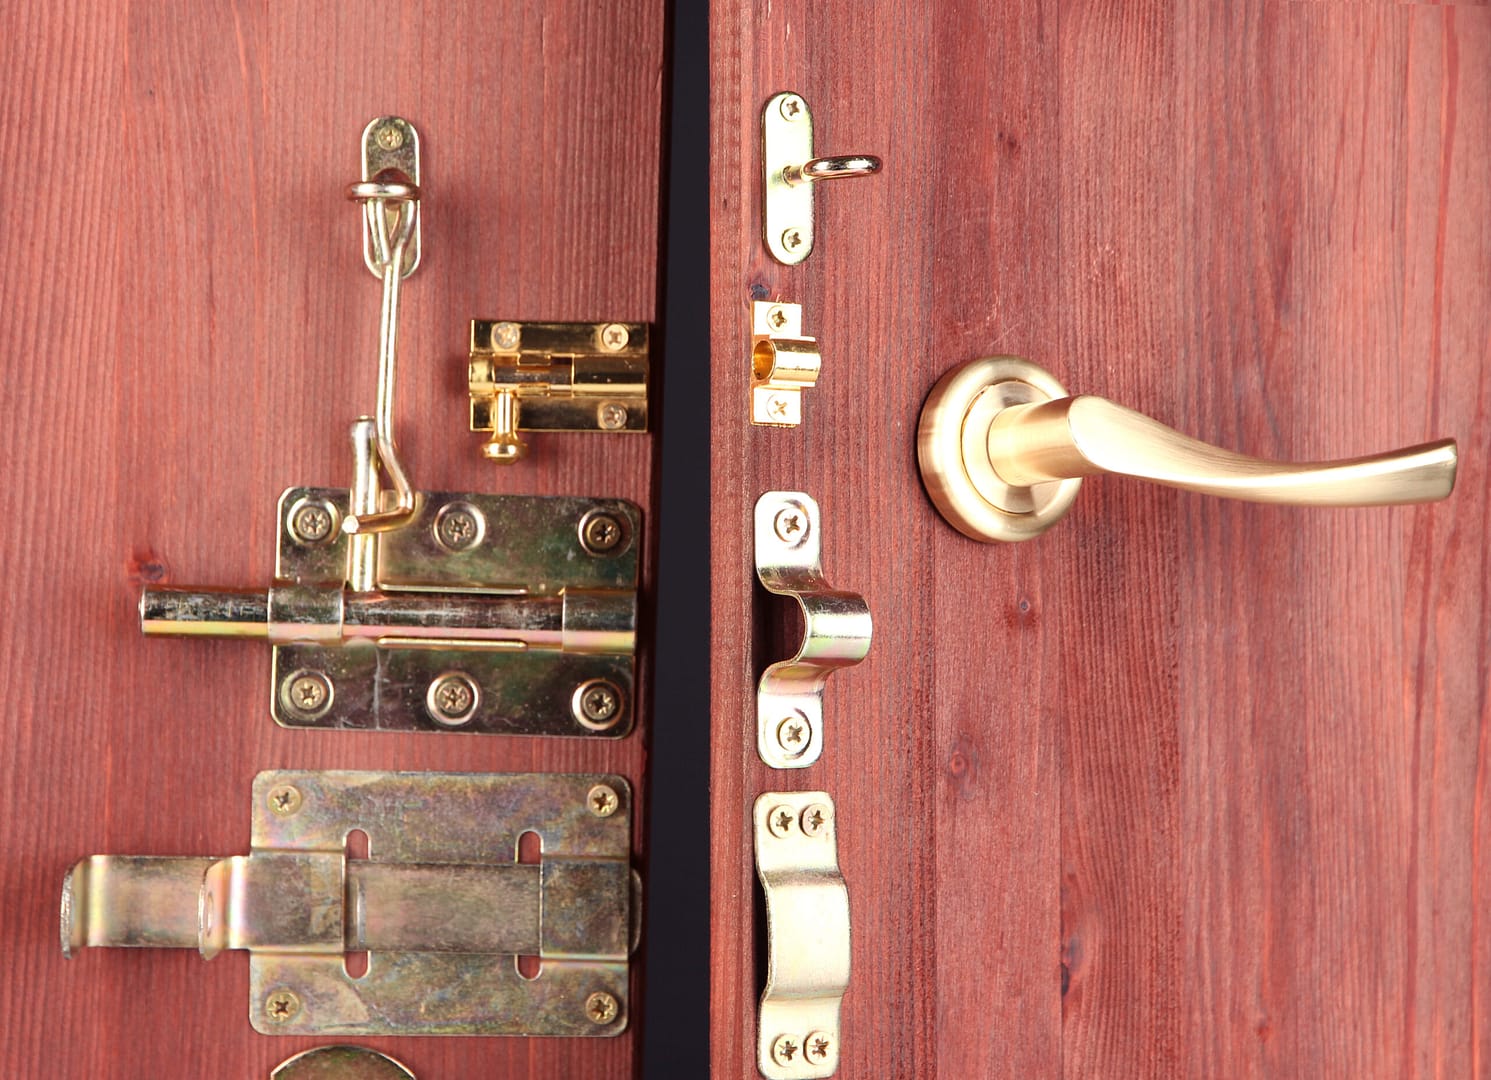
- Your set of internal bifold doors should have come with floor brackets and pins. These are what allow the door to move freely on its track. You will need to attach the floor brackets to the bottom of the doo and the pins to the top of the door. Next, you should have some locking arms. You will need to secure these onto the top of inward-facing doors. We have glazed over this section as the door’s hardware differs depending on the manufacturer. For this step, we’d advise that you follow the instructions that came with your door.
- Now we have the doors sorted, let’s move on to the tracks for internal bifold doors. Start by cutting your track to size with a saw. Again, you must ensure that you measure the track perfectly for it to fit snugly within the door’s opening.
- For the top internal door track, slide the hanging hardware into the track. Attach and secure the track to the door’s header. We’d advise that you place the track at least 1-inch from the edge of the door’s header to allow the internal bifold doors to open and close without obstruction. You will need a drill and screws for this. Screws should come with your door.
- Use a tape measure to measure the position of the top track. You will need to replicate this for the bottom track to ensure that both tracks are aligned. Once you’ve noted the measurements, attach the door’s bottom track to the floor.
- Now it’s time to hang your doors. For these next few steps, we’d advise that you have someone to help you as the doors are quite heavy.
- Pick the doors up and carry them over to the tracks. Lift the bifold doors at a slight angle (top of the door away from you) and lift the door into the pin of the top pivot that we marked out at the start.
- Next, slot the hanger pin into the locking arm of the second, inward-facing door and use a twist-motion to lock it into place.
- Close the doors and gently swing the bottom half of the doors forward. The doors should fall effortlessly into the floor track and align with the bottom pivot.


Once you have completed these steps and successfully installed your internal bifold doors, you can move on to installing the doors hardware such as door pulls and or handles. If you haven’t yet picked out your door handles, take a look at Choosing Handles for Internal Bifold Doors.