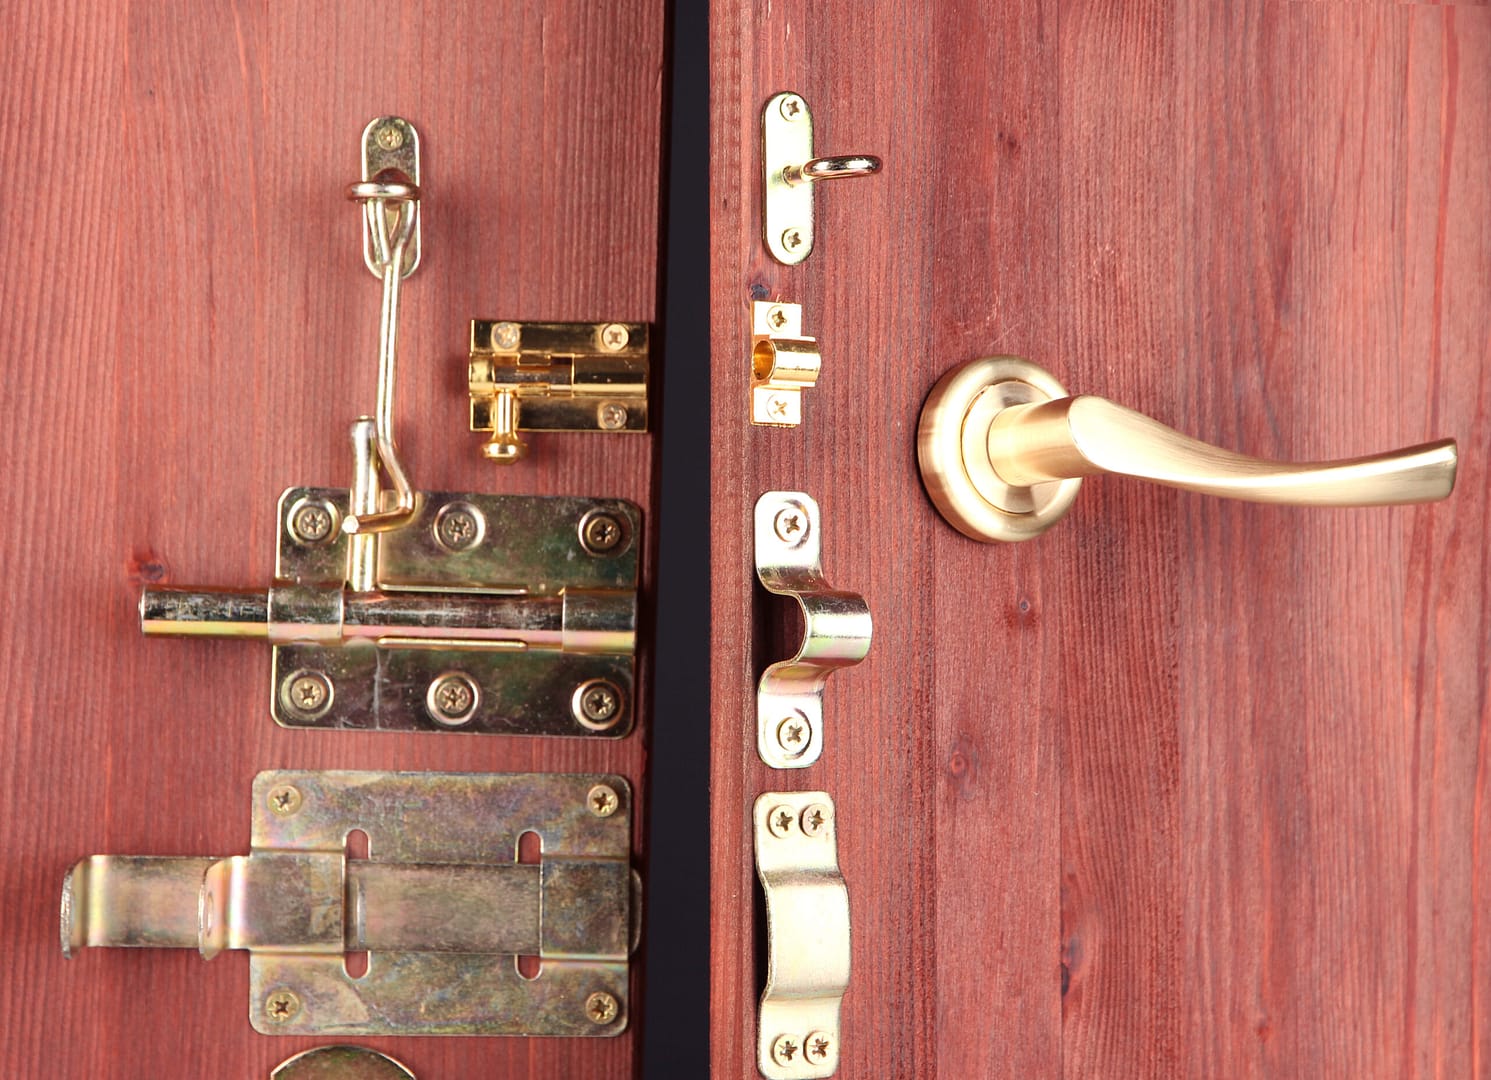
Fitting door furniture is an often overlooked part of hanging an internal door, yet it is very important. Door handles, hinges and latches are a vital part of any interior door – as well as helping it function, they add a lot of visual appeal to the door’s appearance.
Perhaps the most intimidating piece of door furniture to fit is a tubular latch (or a mortice latch). Unlike a door handle or door knob which are fixed to the surface of the door, a tubular latch itself actually sits inside the door. It can feel risky to carve out a space for it. Particularly when it comes to a larger mortice latch.
To help you get your door furniture fitted as painlessly as possible, we’ve put together this guide. In it, we will set out the exact steps you need to take to get a tubular or mortice latch fitted, from measuring to marking to drilling.
Fitting a door latch is technically a simple job as long as you take exact measurements and have the necessary tools. However, many people choose to have latches installed by a professional and there is a good reason for that.
If you are fitting a latch into a new door, you will need to make very specific deep cuts into the wood as well as a hole for the latch to sit in. If you make certain mistakes during this process you can severely damage the look or function of your new door and door frame.
We recommend reading through all the steps needed to install a latch before you decide if this is something you can do yourself, or whether it would be better to have it done by a professional.
Tools
If you are starting with a brand-new door slab, your first step is to make sure you’re installing the latch on the correct side. This will make sure both the hinges and the latch have the support they need to keep your door functioning.
Your door latch will usually sit at around hip level. Measure the latch position on another door in your home to determine the exact height. This should be a relatively simple measurement to find and the one with the most wiggle room if you get it wrong.

The second measurement you need is the length of the latch (and the space for the spindle on your door handle/door knob). To find this, hold your latch up against the door, about 1mm from the edge of the door. Most door latches are recessed a little so that the face plate sits flush with the edge of the door, so this 1mm should account for that.
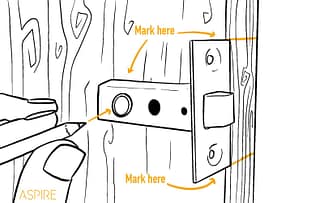
You should mark horizontal lines along the door’s edge showing the top and bottom of the latch face plate, and then the latch mechanism itself. With the latch still in place, mark the spindle holes to show where the door handle will sit.
Finally, you need to mark off the width of the face plate on the flat edge of the door. Many latches are designed to sit in a standard 35-40mm thick door, with a face plate the same width so it shouldn’t be hard to mark.
 2. Drill space for the latch case
Use a drill bit to bore a hole from the edge of the door to accommodate the latch. The size of the drill bit will depend on your latch but 20mm is usually a good choice. You want to use the biggest size possible without creating a hole bigger than the front of your latch or interfering with the space where the screws will sit.
Make sure to drill a space deep enough to house the whole length of your new latch. Pop it into the hole to check it fits and that you are happy with the positioning.
Then use a smaller drill bit (around 10mm) to drill the spindle holes. It is better to drill each spindle hole from either side, rather than drilling all the way through the door as this can damage the door.
Finally, put the latch back in place and use a sharp Stanley knife to cut around the outside of the latch’s face plate. This will make the next step a lot easier.
Next, slowly and carefully chisel out a space for the face plate to sit in. As mentioned above, this only needs to be about 1mm deep to allow for the latch to fit flush with the doors edge.
The best way to do this is to make a series of chisel marks roughly 5mm apart between the top and bottom face plate marks. Do this with the bevelled face of the chisel flat with the edge of the door and use a series of light taps.
When these marks are made you can use a chisel to remove the wood completely. To do this lightly tap the heel of your hand against the chisel handle rather than a hammer. This will give you more control over the depth and stop you from going too deep and damaging the door frame.
It is important to take it slow and steady with these steps. Going in too heavy-handed can leave you with an edge that is too uneven or even too deep to give you a flat edge.
If you prefer, you can do this step before drilling out the holes in the door itself. It will likely take a little longer (you will have more to chisel out) but there will be a flatter surface to chisel which some people find easier.
Now it is time to fix the latch in place. First off, pop the latch back into the hole and mark two pilot holes for the face plate screws. Remove the latch to drill, then countersink, the pilot holes.
Put the latch back in then secure it in place using the two screws and holes you just drilled. If you have measured, marked and drilled everything correctly your tubular latch should be a perfect fit, flush with the door’s edge. At this point you may also want to attach the door knobs or door handles you have chosen, making sure they thread neatly through the spindle hole and operate smoothly.
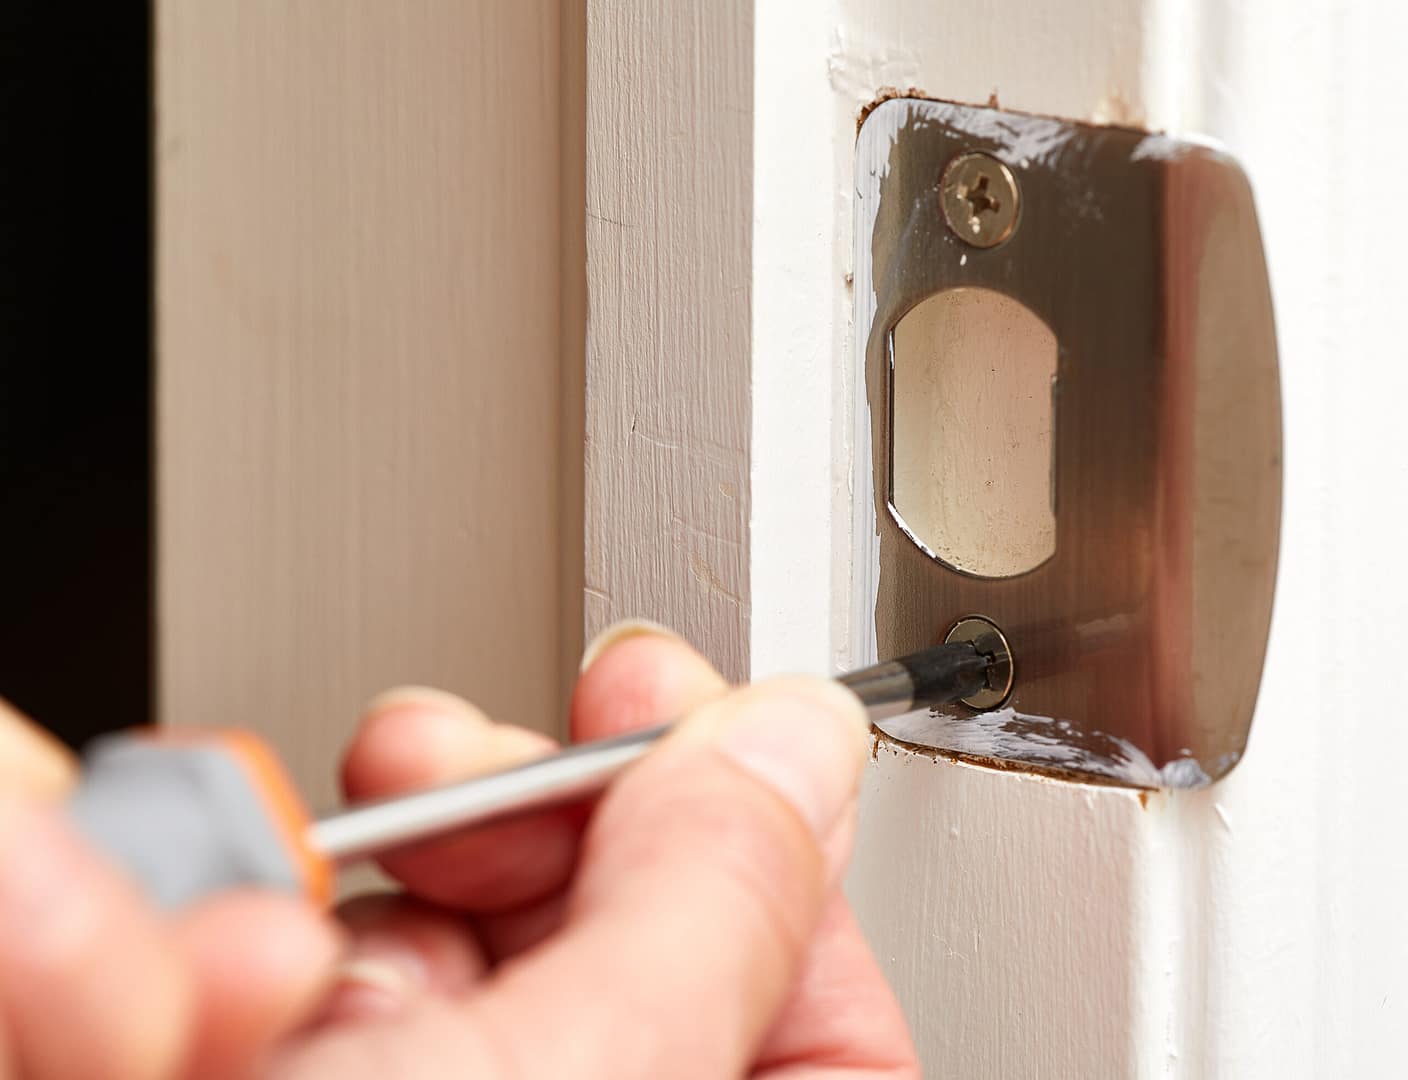
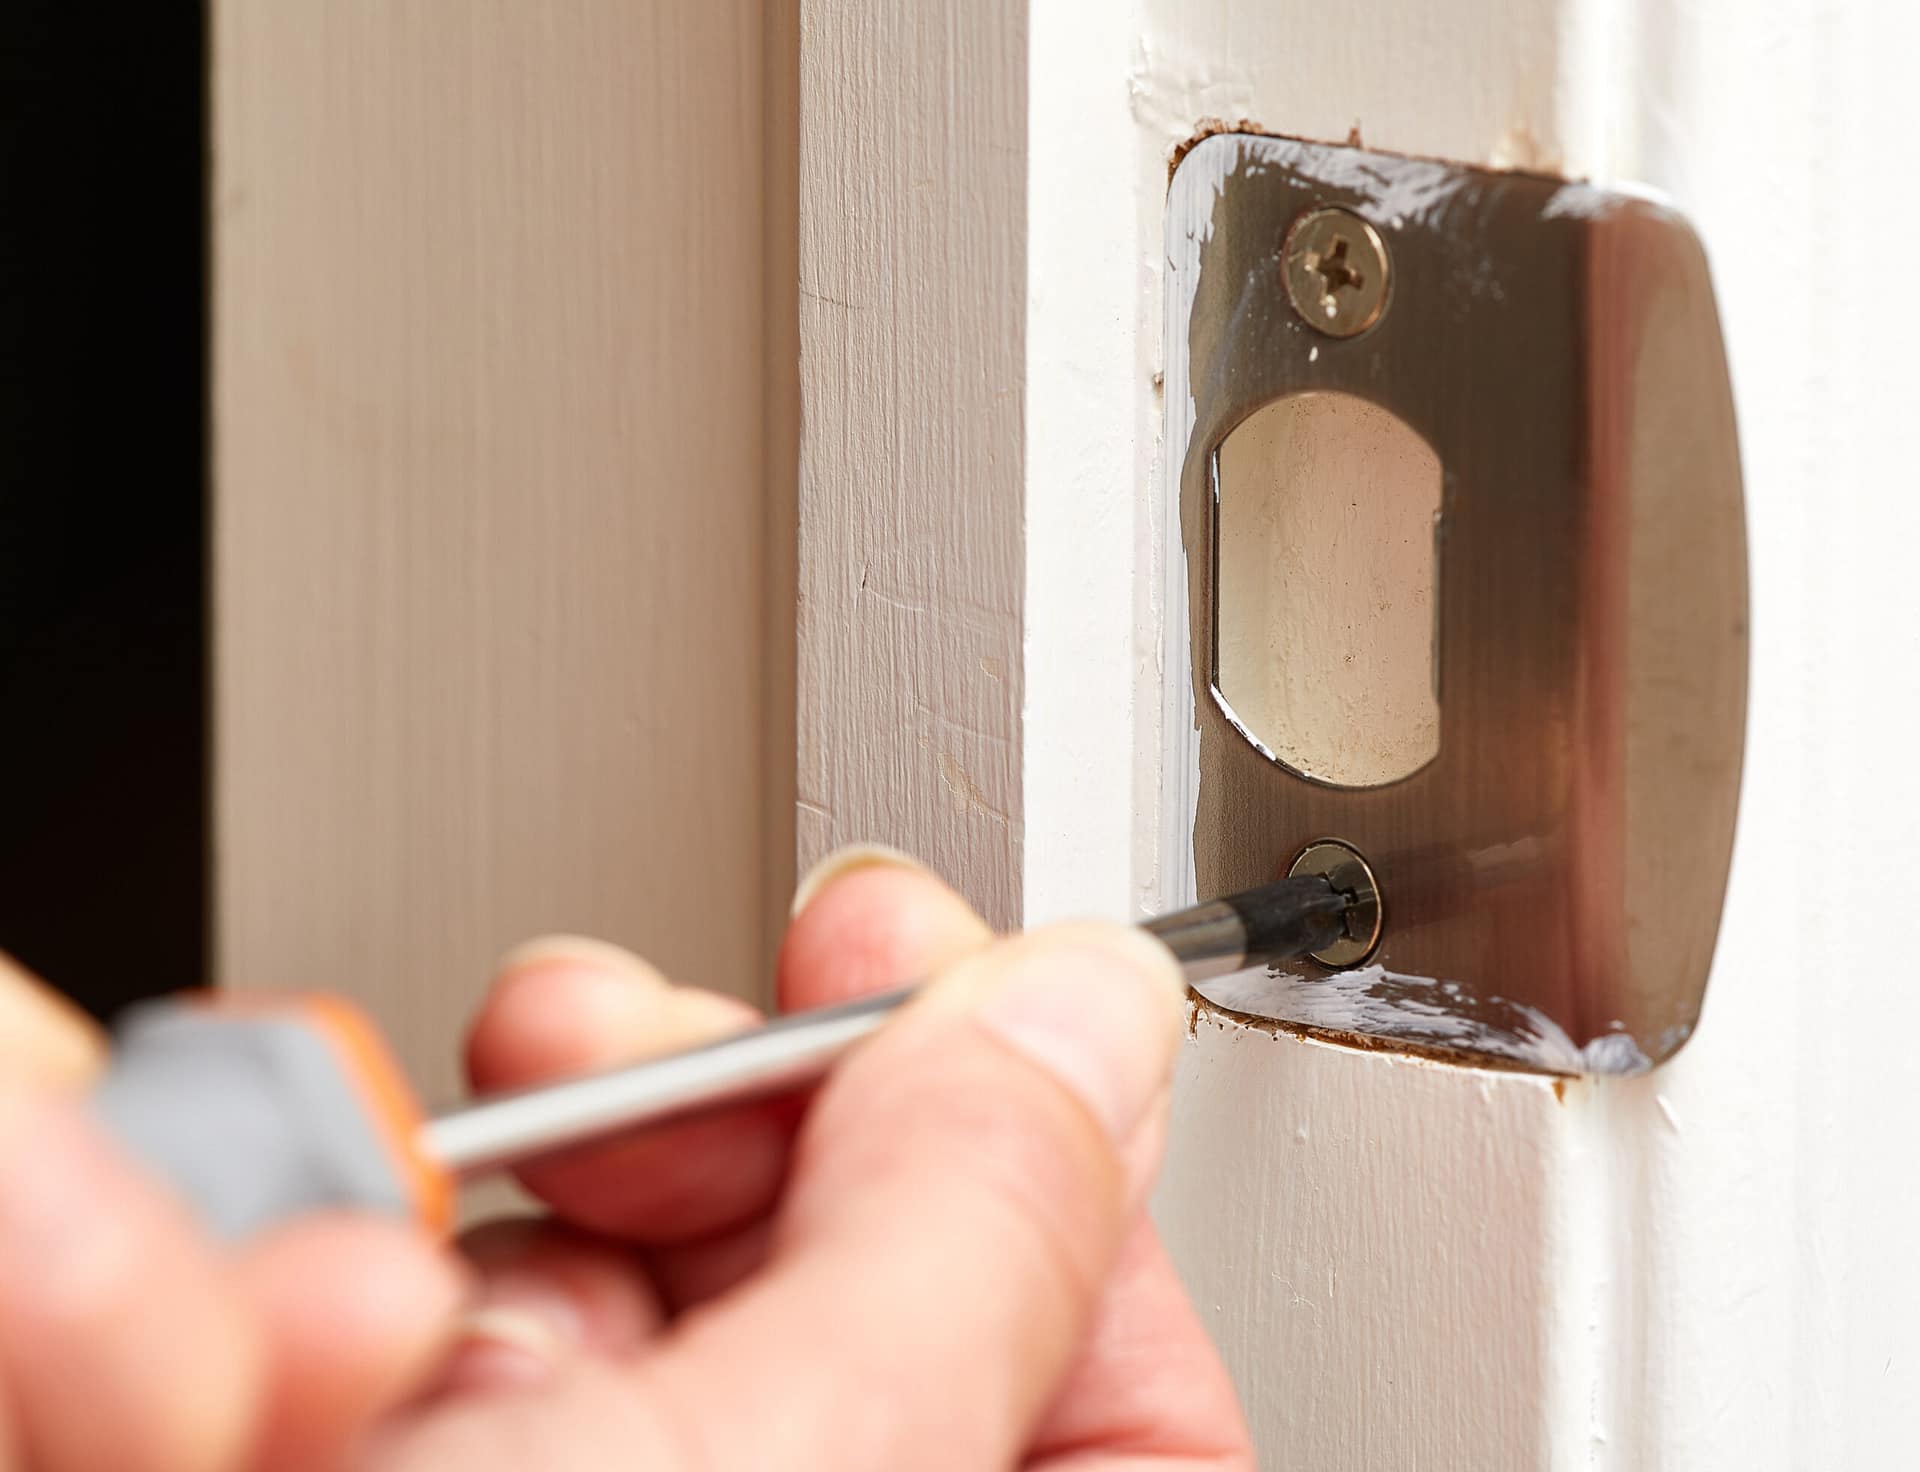
The final step is to notch out a hole in the door jamb and fit the strike plate. To do this, push the door closed and draw a pencil line on the door frame to mark the top and bottom of the latch itself.

Hold the striker plate up against the door frame, and centre these two lines in the middle. Mark off where you want the screws to go, then remove the plate and drill the holes. Lightly screw the striker plate in place so that you can cut round it with your Stanely knife, as you did with the face of the latch.

Remove the striker plate and use a hammer and chisel to notch out a space in the door frame. Use the same technique as you did on the door. Countersink the screw holes.
At this point, the quickest thing to do is to fit the striker plate, and then notch out the space for the door latch to sit through the gap. This will protect the door frame, and show you exactly where you need to cut.
However, this can lead to the striker plate getting damaged or scratched. A safer idea is to mark out the space and then remove the plate. You can use a drill bit to bore out most of the space you need, then simply square it off with a chisel.
Then you can replace the strike plate and screw it in place.
At this point, your tubular latch is fully installed. If you haven’t done so yet, fit your door handles, and try opening then closing the door to make sure the latch works and the door sits flush.