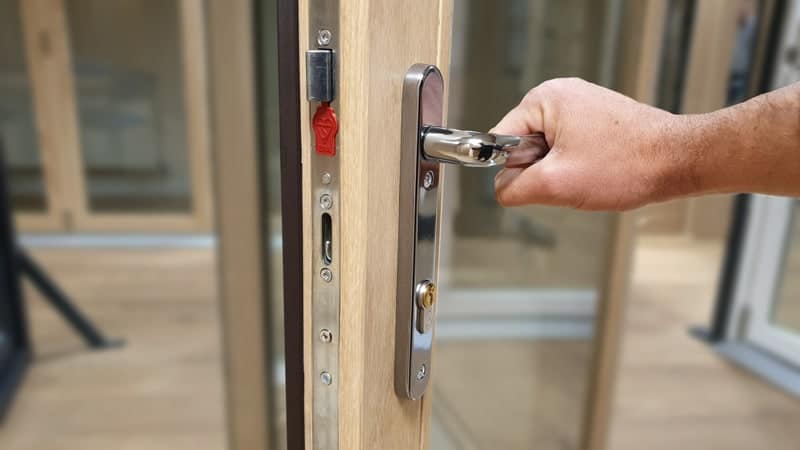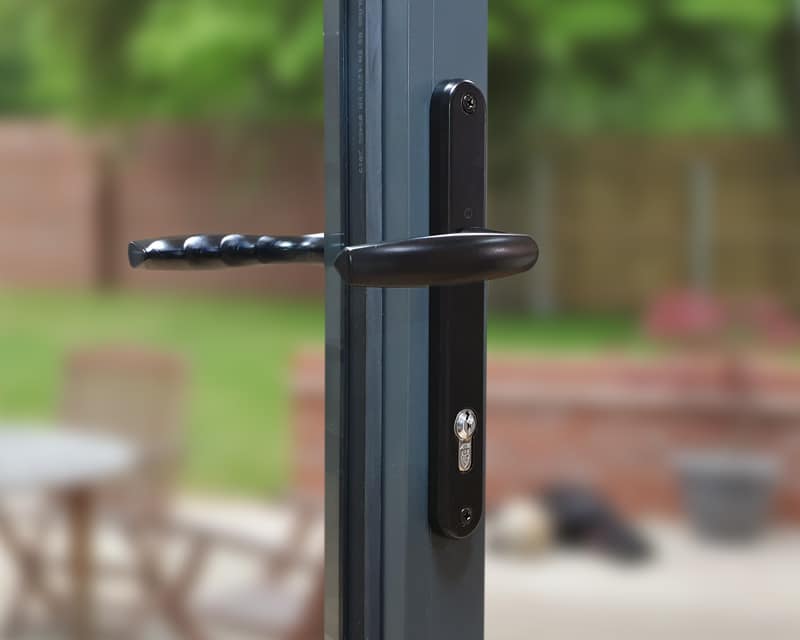
Your external doors serve a dual purpose – they need to look good, while also acting as a barrier to keep heat in, and intruders out. When most people are shopping for new external doors, their primary concerns are looks and price, but it’s important that you consider security too – especially with French doors which tend to be quite large, and feature a lot of glass.
Modern French doors have double glazing and robust frames, which means French doors are naturally quite secure. The importance of the handle and locking mechanism should not be underestimated however, as a weak handle or small lock could easily be forced open. If you have an older French door, then the handle may not be up to modern standards.
There are a few reasons why you might want to replace the door handles on your external French doors. The most obvious is if the handle is broken. External doors get a lot of use and are constantly exposed to the elements. Older doors may have come with cheap “stock” handles that are functional but not be top of the line in terms of appearance or quality. Replacing those handles is far easier and far less expensive than replacing the entire door.
You may also want to replace your door handles if you want to breathe new life into older doors. A new handle costs a fraction of what a door costs, but can completely change the look of your home. It doesn’t take long to replace door handles, so it’s an easy and effective way to freshen up the exterior of your home.
Improved security is another reason you might want to upgrade your door handles. Many modern handles have double locking systems with large, robust locks. They are stronger and harder to force open, and you can get multi-point locking systems quite cheaply too. If you currently lock your French doors with a single Yale key, then you might want to look for something a little more robust.

There are several different kinds of external door lock that are suitable for French doors, including:
Top and bottom key-operated locks – these are common on modern patio doors.
Central rail key-operated locks – these aren’t used on French doors but are used on other kinds of patio door like sliding doors. They offer better security than basic locks.
Key operated multi-point locking systems – these have a rim locking system that bolts the door into the frame (or into the other door), offering better security by making it much harder to force the door open.
Exterior French doors have two doors that open outwards, away from each other, for a spacious entryway. The doors latch onto each other rather than the door frame, using their respective handles. This means that it’s important the locking mechanism is strong and sound so that the doors can’t be forced open.
The active handle will move the latch when it is turned, and the opposite handle is a ‘dummy handle’. The locking handle is located on the side that has the active handle. You need to plan this before you install the handles and lock.

Decide which side will be the active handle, and identify the lock cylinder pin. This is a long and flat piece of metal that runs from the key hole and passes through the door out to the other side. Turn the pin clockwise to make it an active handle on the left, or turn it anti-clockwise if the active handle will be on the right.
If the doors are new, drill holes into them. If you are replacing existing handles then you might be lucky and find that the current holes fit perfectly. If not, use the hole-boring template that came with the handles to determine where the holes should go. Use a drill and hole saw to drill the holes. In most cases, you will need a large hole to accommodate the door knob, and a small hole for the lock mechanism. You will also need two holes on the active door’s edge to host the lock mechanism and the latch.
Next:
Put the actuator slot into the locking mechanism hole, which is on the active door side.
Insert the lock bolt through the hole in the edge of the door, and connect it to the actuator. The handle design might require you to insert the bolt first then the actuator. Check the instruction manual that came with the door for detailed directions.
Put the assembled faceplate into position on the door and slide the lock cylinder pin through the actuator slot.
Attach the face place to the door – screw the exterior plate into position first, then slide the interior plate over the lock cylinder pin and screw them loosely into place.
Attach the handles to each door, and screw them into place using a set screw.
Slide the latching mechanism through the latch hole in the door’s edge.
Screw the plates into place, including the outer plate that covers the latching and locking mechanisms.
Test the lock and latch to make sure that the handle works properly, and tighten all the plates firmly.
Follow the same process on the other side to install the dummy handle, omitting the lock and latch mechanism sets. This is because the dummy handle turns when it is in place, but the handle does not actually operate any moving parts. The edge plate on the dummy handle side will have two openings to accept the latch and locking bolt. Take care to ensure that these holes line up with their counterparts on the active door.