High quality interior doors will last for many years if it is properly cared for. Within reason, you can simply repaint a door if the paintwork is starting to look dull. However, after time, you find that there are too many layers of paint or stain for the finish to look good.
If your door’s paintwork is blistered or has started to flake, then you run the risk of making the issue worse by adding another layer. At that point, it makes sense to strip the old paintwork and start from scratch. This can make an old door look brand new.
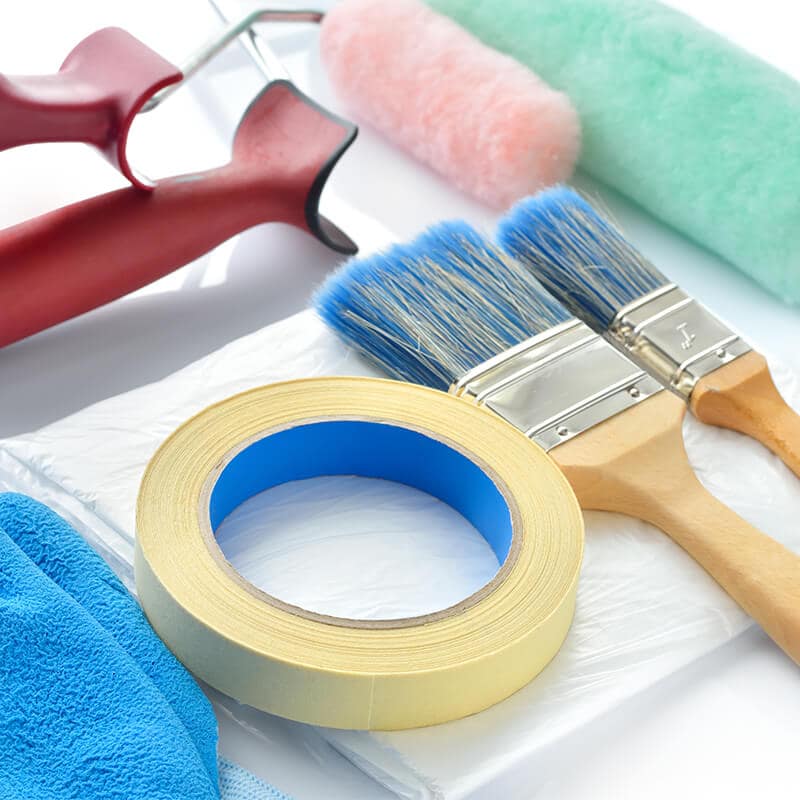
Before you repaint a door it’s a good idea to strip the old paint off, this applies to a set of doors or just an internal single door. To repaint a door, you will need:

Once the door has been stripped and sanded, then it is ready to be painted. Note that oil and solvent-based paints both give off fumes that can be harmful to your health, so you should ensure that the room is well ventilated at all times while you are working on the door.
If your door has wooden panels, then paint those first with a roller or a large brush, then use a smaller brush to pint the vertical mouldings round the panels. Next, paint the centre vertical and the cross-rails working from top to bottom. Finally, paint the outer verticals and then the edges of the door.
If your door has glass panels, use masking tape to protect the glass, and start by painting the mouldings surrounding the glass, using a cutting-in brush. Next, paint the cross rails, then the outer verticals. Finish with the outer edges.
With flush doors, you can achieve a good finish by dividing the door into eight sections, working from the top left, across the door, then down. Blend each area into the next one while the paint is still wet. Use vertical strokes that run in line with the grain.
Staining or varnishing a door is quite similar to painting a door, however you should be aware that different woods respond to stains in different ways, so the colour you get may not be what you expect after having looked at the tin. That’s why it’s a good idea to test it on a piece of wood that is similar to the door (or on an unobtrusive part of the door) before you start work. You can mix or dilute stains to get a specific shade.
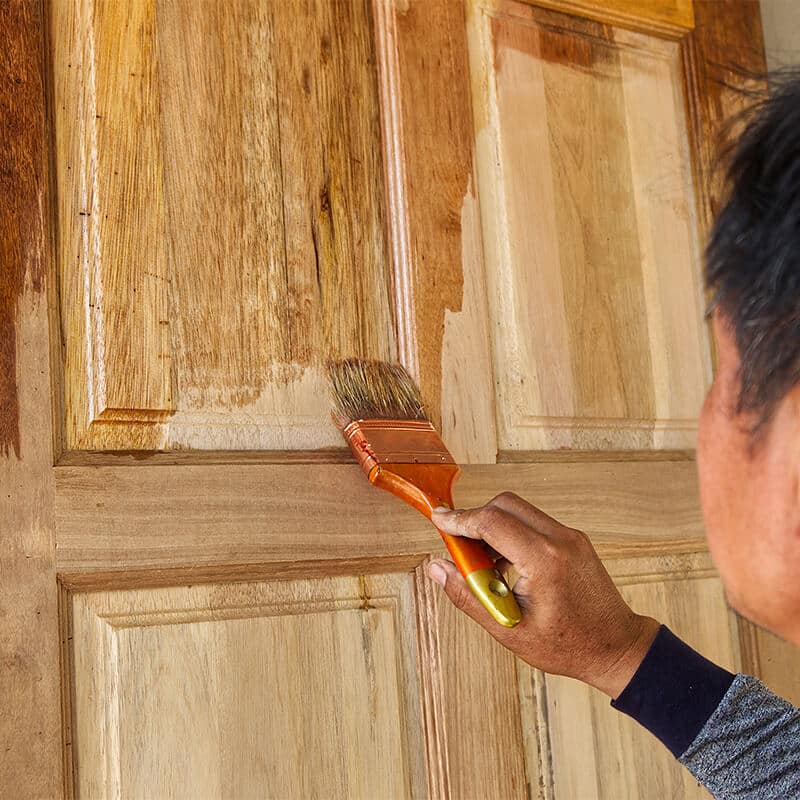
Make sure that the door is clean and dust free, before you start work Apply the stain with a paint brush, working in a similar way to how you would for paint. If you have a moulded panel door, start with the panels, then the mouldings, and work around one half of the door, and then the other. It is important that you follow the grain, and always ‘pick up’ wet edges before they try, otherwise you will see a visible edge where the new stain meets the stain that has already dried.
Work quickly and try to apply the stain evenly without any overlap. When you finish a section, rub the door with a lint-free cloth to even out the stain and get rid of any overlap. Be sure to use a good quality, clean paint brush.

If the stain needs more than one coat, then let the first coat dry (make sure it is completely dry, be patient with this!) and then go over the surface with fine-grade sandpaper. Wipe the door down with a lint-free cloth, and then apply a second coat. In some cases, you might want to apply a third coat – this is more common with exterior doors, however, where a tough finish is desirable.
Make sure that the varnish dries between each coat. Don’t forget to stain the edges of the door, because the stain will help to ensure that the door is protected from the elements and that it won’t absorb too much moisture in a humid home.
If you want to paint or stain a door so that it has different colours on each side, paint the edges the same colour as the door on the side that it opens, because this is the edge that is going to be seen most often, and this will give it a more uniform appearance.