There are many reasons you might want to replace an internal door frame. It could be that the existing door frame is rotten or damaged, or you might wish to change the direction that a door opens, and therefore want to alter the jambs.
The good news is that replacing an internal door frame does not require much specialist equipment, and is a fairly simple job for someone who is confident in DIY.
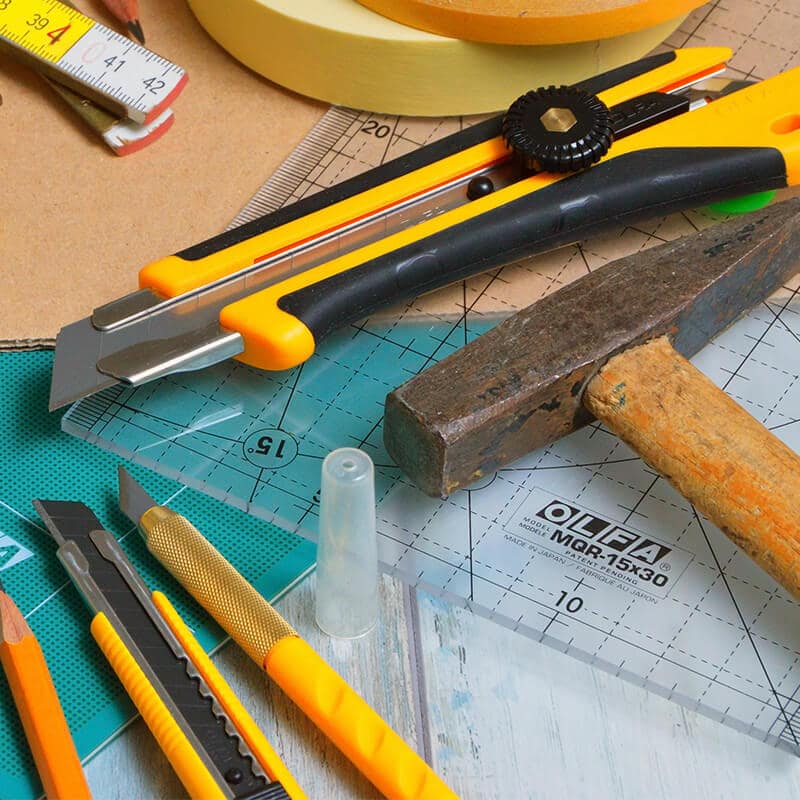
What do I need to fit an internal door:
- Hammer and chisel
- Spirit level
- Tape measure
- Nails and screws
- Drill and drill bits (to suit the brick/hardwood you are drilling into)
- Plywood
- Utility bar
- Screwdriver
- Wood to use as a brace for the frame
How do I remove an internal door frame?
Before you can replace your frame, you will need to remove the existing frame.
A door frame, or door lining, is made up of two jambs (one on each side) and a head (at the top). To remove the frame:
- Remove the door so that you can get easy access to the frame.
- Run a knife along where the door lining meets the architrave, and where the architrave meets the wall.
- Use a hammer and chisel to lift the architrave away from the lining, starting at the bottom of the frame.
- Use a thin piece of plywood to protect the wall, and a utility bar to lift the architrave from the wall.
- Remove any nails from the wall.
- Measure the full size of the door lining that has now been exposed. Most internal doors are one of a handful of standard sizes, so sourcing a suitable door frame should not be an issue.
- Cut the jambs in half, so that you can easily pry the lining away from the wall and collapse it inwards.
- Once you have cut the lining it should be easy to pull away from the wall, leaving a rough opening.
- You are now ready to hang the new door lining in the opening.
How do I replace the door lining?
Once you have an exposed rough opening, it is quite easy to replace the door frame. When you buy a door lining kit, it will come in a few pieces, which will need assembling before you can insert them into the opening.
A standard sized door frame kit should come with a head which has some recessions, or ‘rebates’, which are spaced to suit common door sizes. One side will have rebates that will fit a 30” wide door, while the other side of the head will have rebates spaced to suit 27” wide doors. If your door is not one of those standard sizes, then you will need to cut new rebates yourself.
- Choose the correct side for the head section, and have this side pointing ‘down’ when you start assembling it.
- Drill two clearance holes through the correct rebates, for your screws.
- Lay the jambs on their side, and insert them into the rebates, then screw them in place.
- Cut off the excess wood, so that the ends are flush.
- Brace the door frame, so that the jambs are parallel with each other and the head is square with the jambs. To do this, use a diagonal brace to keep the jambs square, and a piece of wood holding the jambs parallel, near the bottom of the lining.
- Mark out fixing points in the rough opening of your door – the first two 100mm from the bottom, and the rest 450mm apart. The fixing points should be 35mm from the edge of the jamb if you are fitting them to a stud wall. If you are drilling into brick, then make sure you stagger the fixing points suitably to stop the brickwork from crumbling.
- Drill screw clearance holes. If you are drilling into a hardwood frame, countersink the holes ready for screw heads.
- Line up the head and the jamb in the hole. Use a spirit level to check that the head is square and confirm that the frame is flush with the wall.
- Screw the frame in place and confirm that the jamb is plumb using a spirit level. If you do not have a long sprit level, you can tape a shorter one to a long steel ruler, and use that to confirm the door is level – the ruler should be flush with the jamb at both ends while the spirit level reads plumb.
- Once you are satisfied that the head is level and both jambs are plumb, remove the braces from the frame.
- Replace the architrave and nail it securely to the wall.
With luck, you will have been able to remove and replace the architrave without damaging it or the surrounding wall. You may need to do a small amount of repainting though, to achieve a finished look.
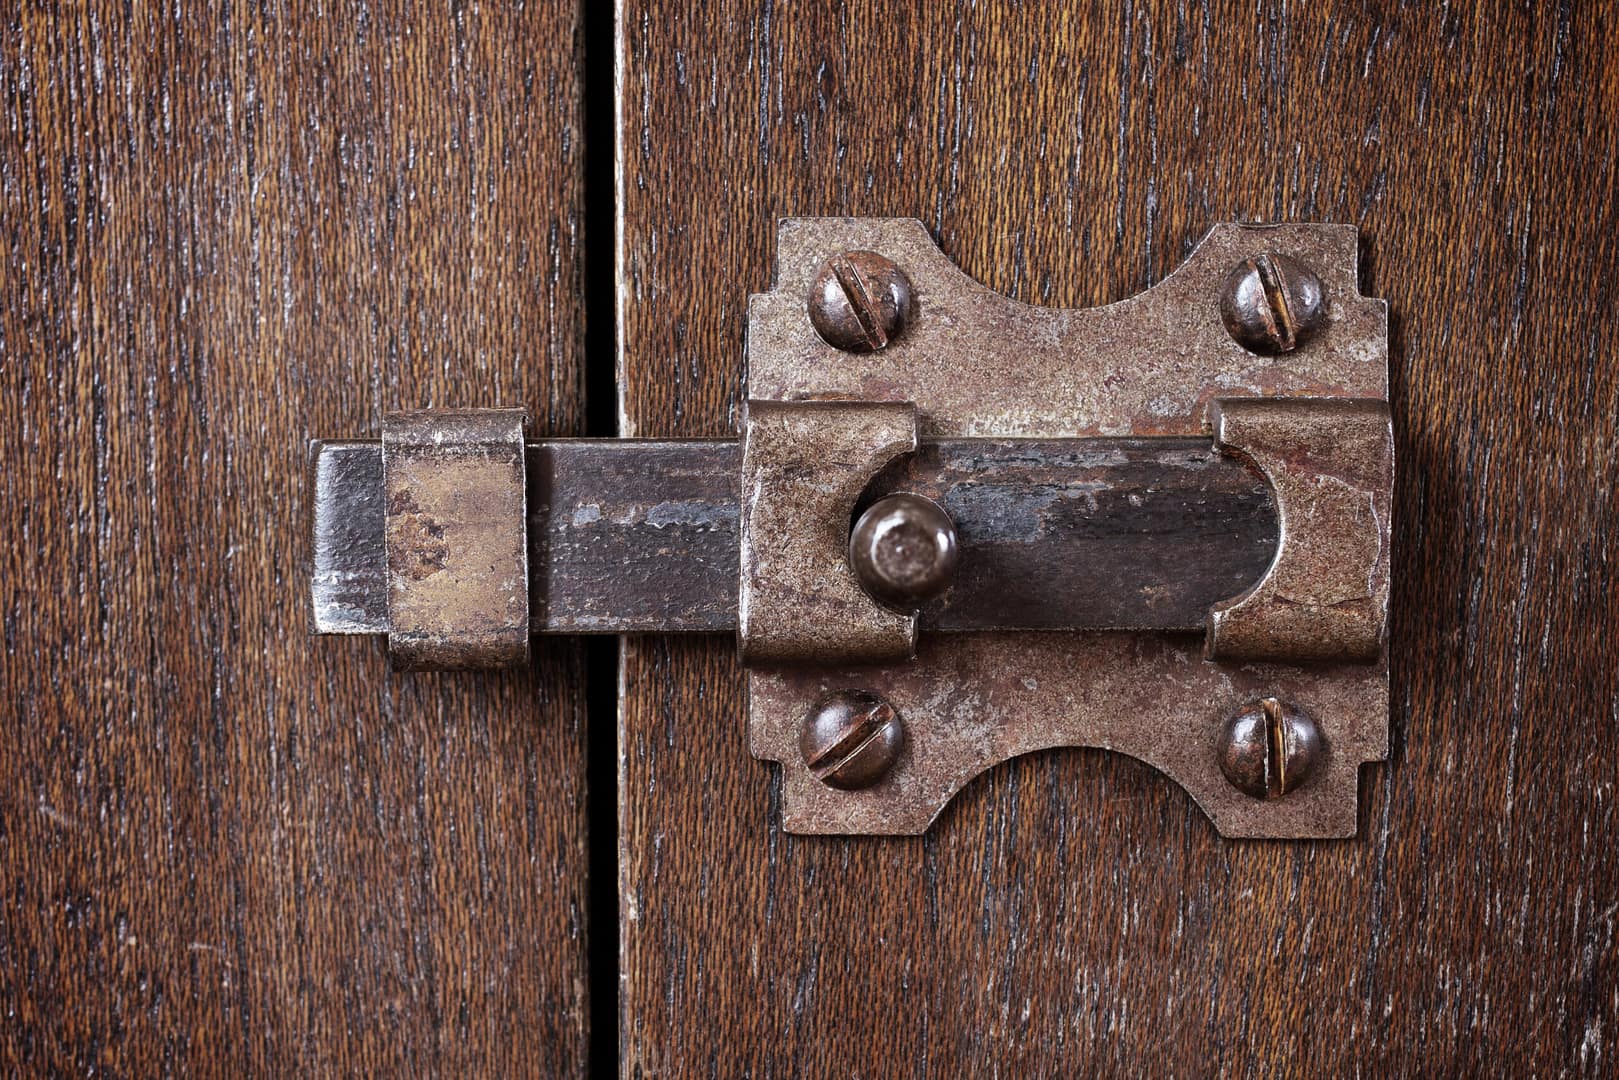
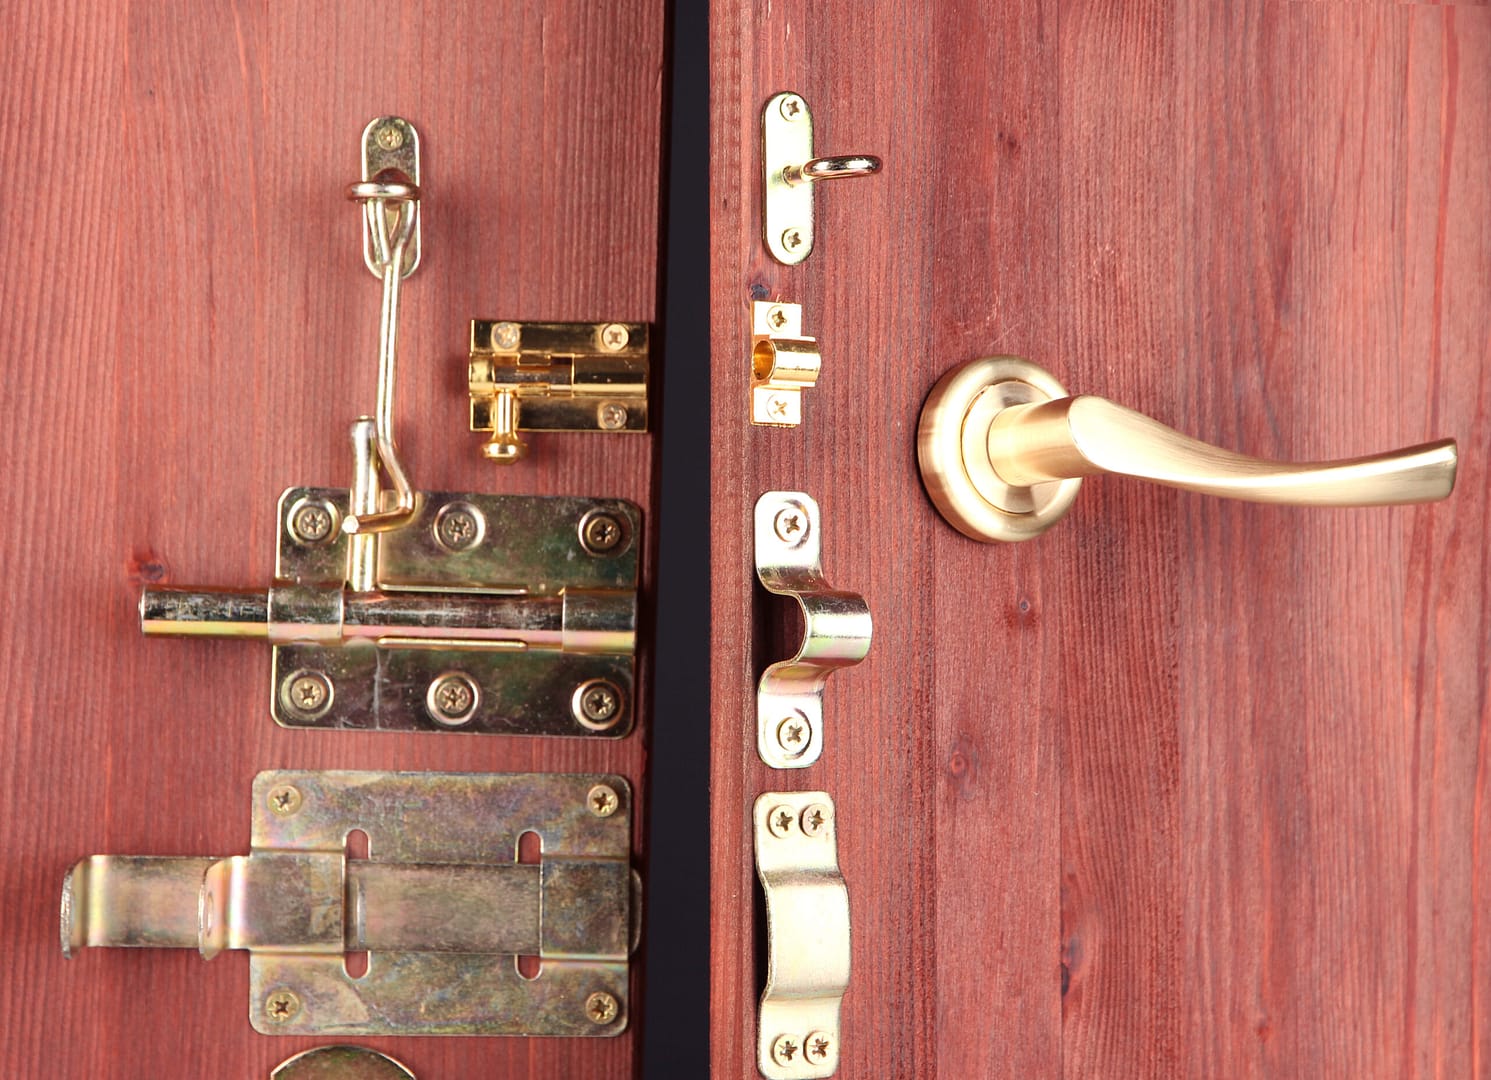
Once you have replaced the frame, you will need to re-hang the door, and put a striker plate in the jamb at the correct height. You can look at our other guides to see how to hang a new door, including how to fit hinges, locks and striker plates.
Fitting an internal door frame does require that you have some knowledge and DIY experience. If you are not confident in your DIY skills, then you should seriously consider hiring a contractor to do the job for you. Fixing mistakes may take a lot of time, as well as money to employ a contractor to undo any damage caused by the failed replacement. Doing things right first time will make life much easier for you!