If you’re shopping for internal doors, you’ll have several finishes to choose from. You can choose a door that’s been pre-finished at factory level (either entirely or just with a coat of primer), or you can pick an unfinished door, and treat it yourself.
Treating internal doors yourself is a simple way to save money and customise your home – provided you know what you’re doing.
Let’s look at how to treat internal wooden doors with a range of different finishes.
Whichever finish you choose for your internal doors, there are a few common rules for treating them.
First, you’ll want to prepare your work area. This entails:
You’ll also want to ensure you pay close attention to insects that might fly in and land on wet surfaces (especially if the weather is warm).
If you’re treating new internal doors, getting started is easy – all you need to do is place masking tape around the edges of any glazing. If you’re refinishing an old door, then it’s essential to remove any hardware that might get in the way.
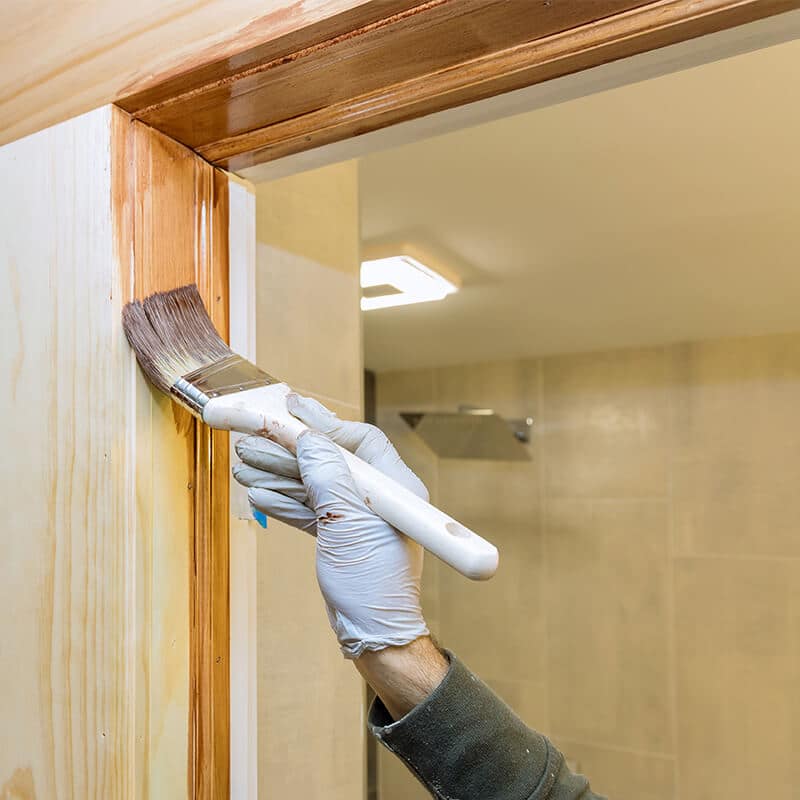
If you choose a finish that will be slow to dry, lay the door flat across a pair of sawhorses while you apply the finish. This will help prevent drips.
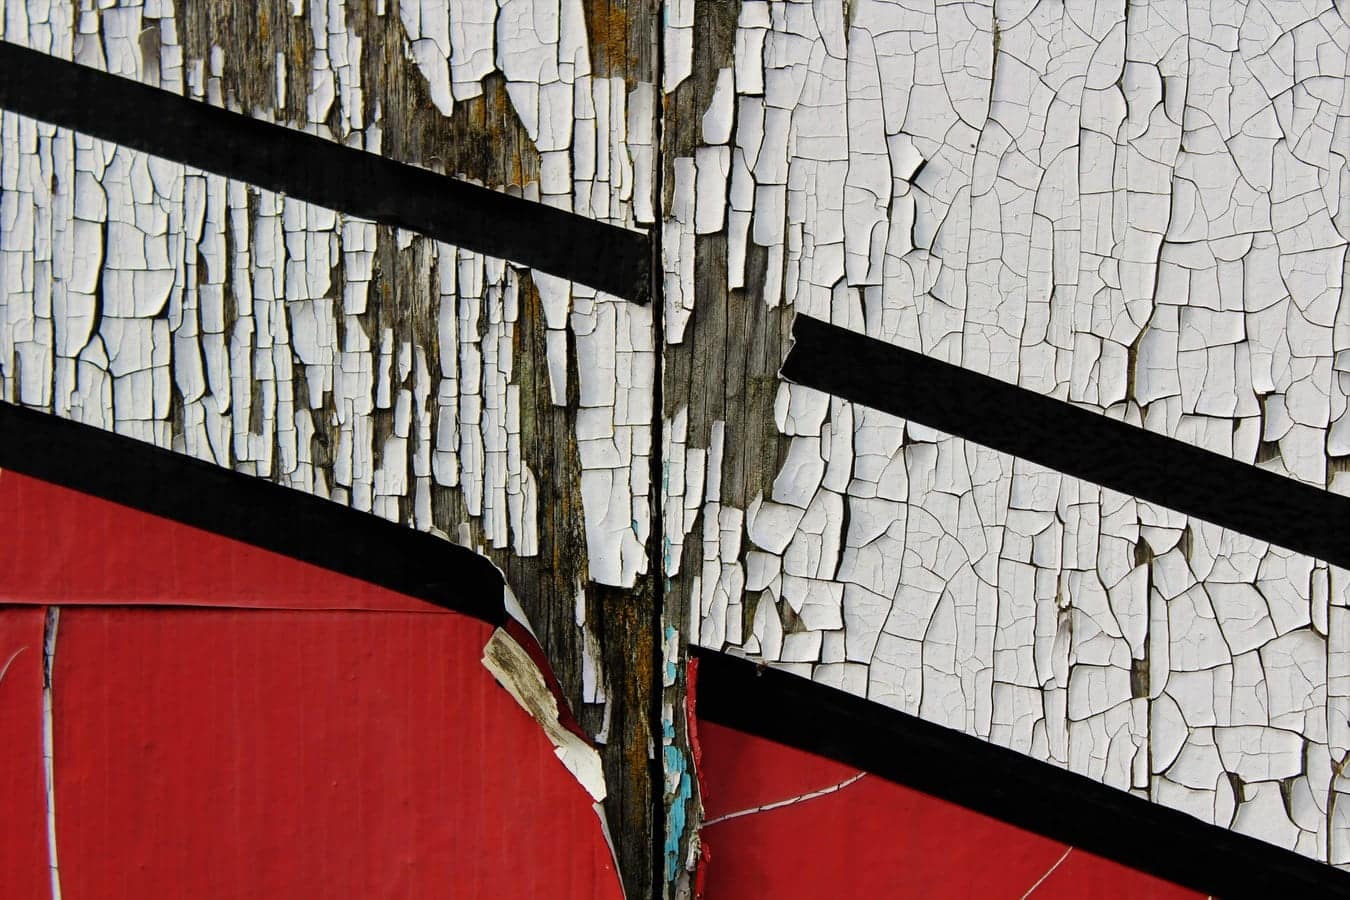
Ensure that the surface is sanded clean, and free of dust and moisture. If you apply the finish while the door is wet, you’ll trap moisture inside the wood, where it’ll rot and shorten the lifespan of the timber. Run a sponge with a mild detergent over the door before using wet-and-dry paper to smooth the surface. Once it’s dried, you’re ready to begin.
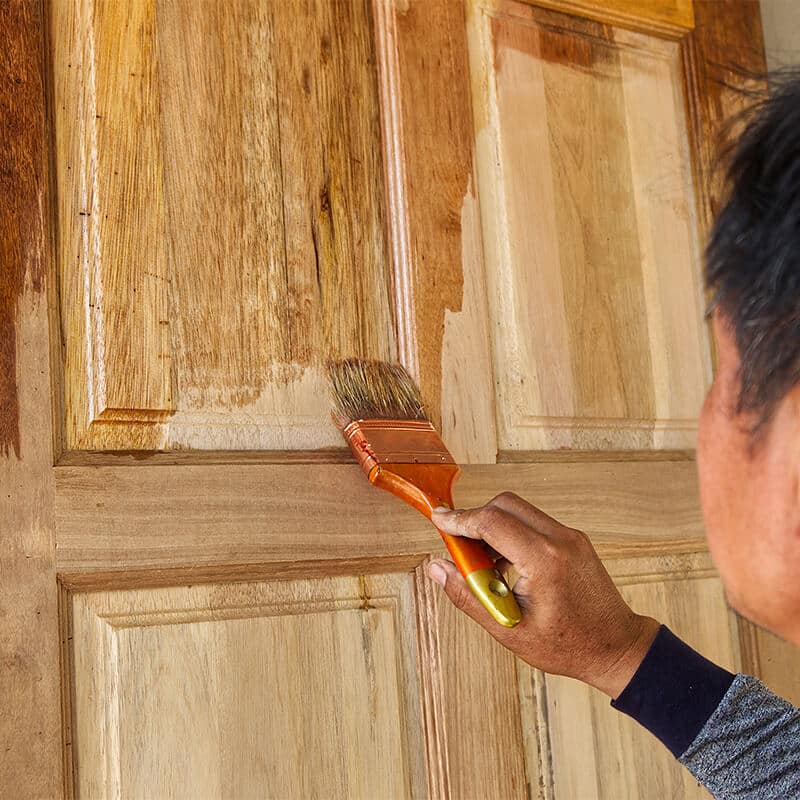
A stain is a type of semi-transparent finish that’ll highlight the wood’s natural grain by darkening it. Stains come in several different shades and are a fantastic way to bring out the best from oak and pine.
Better yet, stains are all applied in the same way.
To get the desired finish, you can mix or dilute wood-stain until it’s your chosen shade. You can test the results on a small strip of wood – just make sure that the test strip is made from the same timber as the door itself.
Here’s how to treat internal doors with stain
For most internal doors, two coats should be sufficient – though for extra durability, you might apply three.
Internal door varnish forms a protective layer. It’s tough and durable, and as a result makes a good match for high-footfall areas.
Varnish is available in gloss and matte finishes, and should be applied in layers using a clean brush (in much the same way as wood stain). Before proceeding, you’ll want to secure a high-quality brush that won’t cause the varnish to run, and ensure that your varnish is properly mixed, as sediment might have collected at the bottom of the tin. Do this by stirring rather than shaking, since shaking will create bubbles.
Keep a close eye out for these bubbles, as they’re difficult to eradicate once the surface is dry.
One of the key advantages of treating internal wooden doors yourself is that you can choose whatever paint colour your heart desires. You’ll need to pick a paint that’s specially formulated with doors in mind; paint designed for walls and ceilings just isn’t tough enough for doors.
Paint should be distributed in several layers, starting with the primer. The primer is a base layer that’ll disguise the underlying wood, and help subsequent layers to ‘pop’ out.
For best results, you’ll want to paint your internal wooden doors in a specific order.
Treating internal wooden doors needn’t be a big chore, regardless of the type of timber or finish combination you’re going for. Do it right, and you could save considerably!