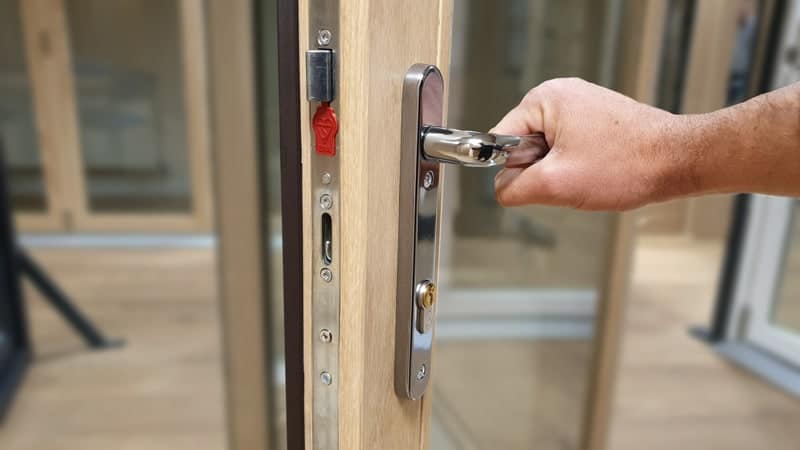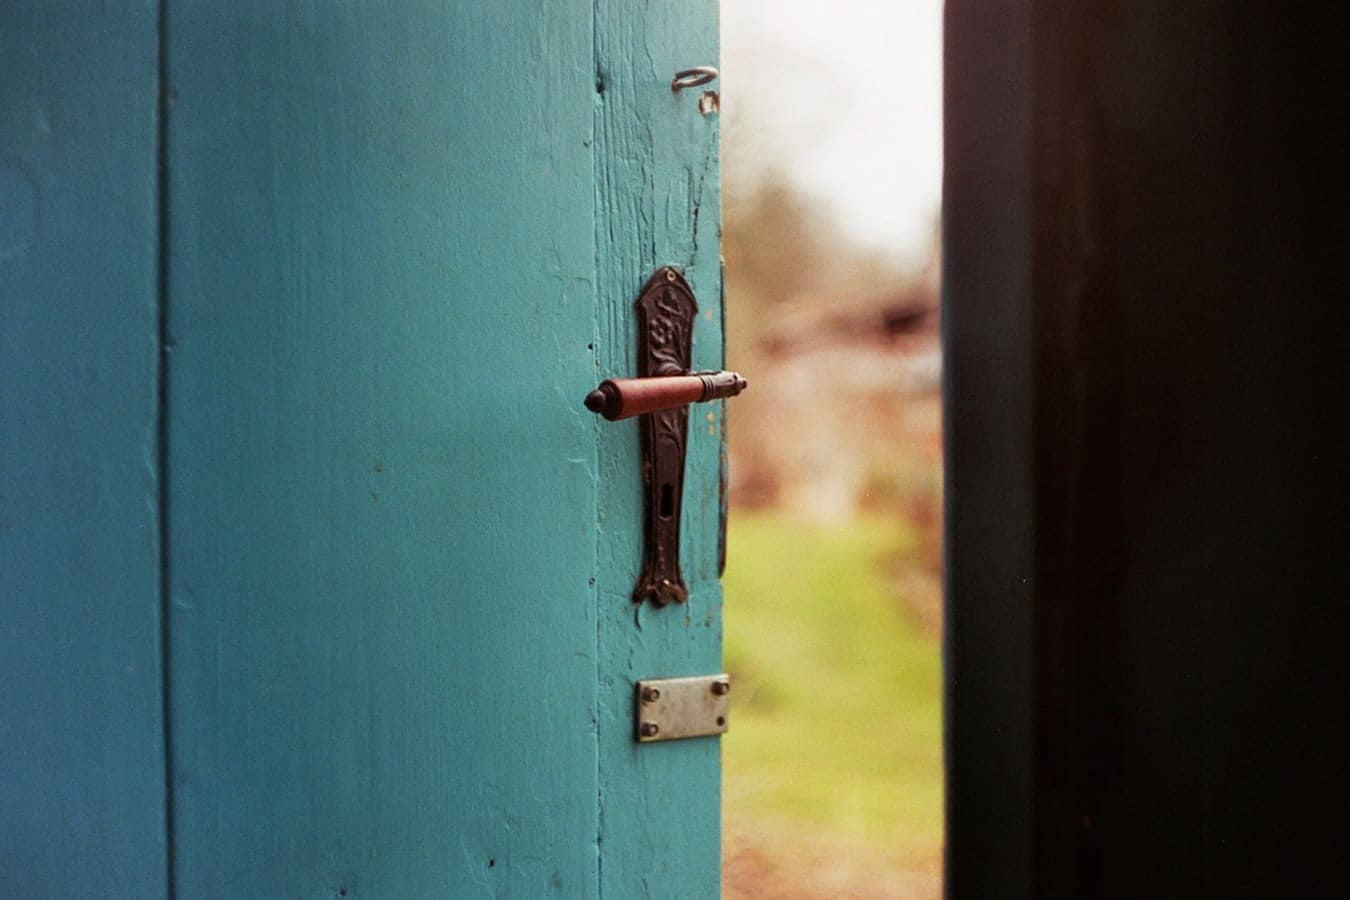
Your door’s handle has a big impact on the door’s appearance. If your external door needs a revamp, a change of the handle can make all the difference.
The handle you choose for your door can also determine the security type that your door provides. If you purchase an inexpensive handle, the odds of it breaking or making it easy to break, to gain access to your home, increases dramatically.
If you want to increase your home’s security, while making the door’s exterior look better, it’s time you change your door’s handles.
To change your external door handles, you’ll need the following:
The best way to change your external door handles is to follow the instructions that came with them. The instructions for your handle will be relevant to the make and type of handle that you’ve chosen. If you’ve misplaced the instructions, our guide is a general method for replacing your external door handles, which should come in handy.
Before you begin the installation, ensure that the handle that you have purchased is the same size and has the screws in the same place as your previous door handle. Purchasing a smaller handle than your current one will mean new holes will need to be drilled into the door. This puts the previous holes on show, and there is little that you can do to hide them.
To ensure that your handle is the correct size, measure where the screws are, the cylinder’s width, and the backset. You measure the backset by measuring the distance between the lever and the outer door’s edge.
If you have the correct sized replacement handle, you’ll need to remove the current handle from the door. Do this by unscrewing the screws and pull the front and back of the handle out of the door at the same time.

To attach your new handle, fit the front and back of the handle to the door at the same time. Line the handles up with the holes from the old handle and attach the new handle to the door using the screws that came with it.
If you need to drill new holes, line the handle up to the door and use a pencil to lightly mark the areas where the screws will go. Use a drill to put the holes into the door.
Once you’ve drilled the holes, wipe away any dust, line the front and back of your door’s handle up to match the holes, then place the screws into the door.
New handles aren’t always easy to fit. If you plan on adding handles to a completely new, unmodified door, we’d advise that you have a second person with you to help make sure that the back and front are level. Plus, having a second pair of hands makes it easier to hold the handle in place while the second person marks the screw spots.